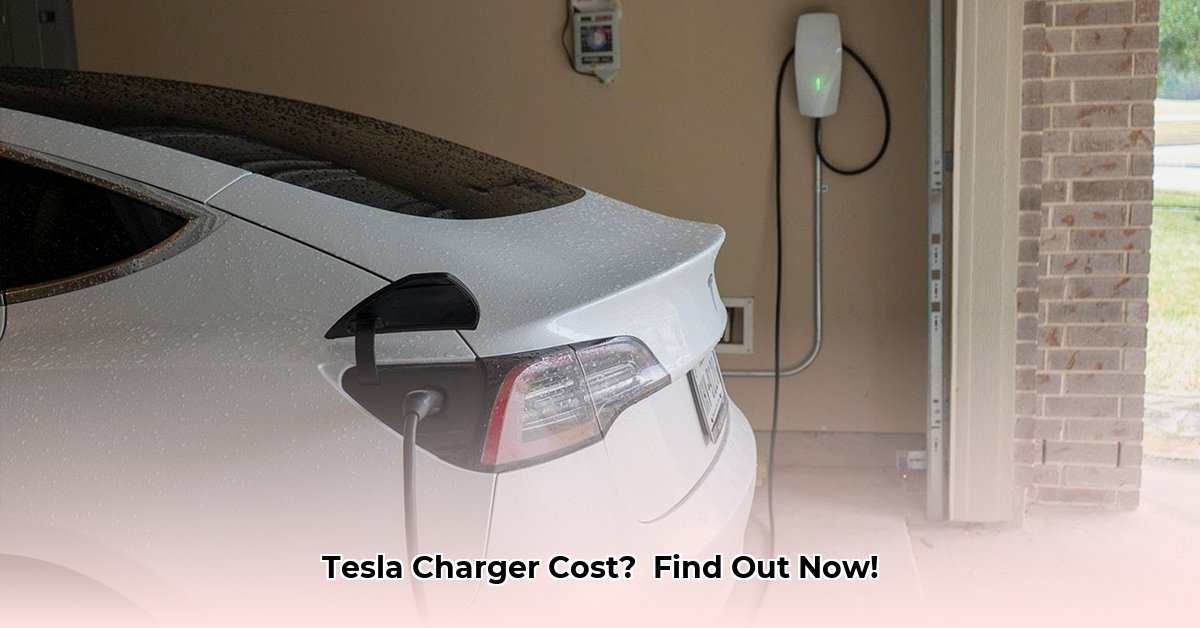
Thinking about adding a home charger for your Tesla? It's a smart investment for convenience and cost savings, but navigating the installation costs can feel complicated. This guide simplifies the process, offering clear steps and practical advice to help you make informed decisions.
Understanding Your Tesla Charging Options
Tesla offers three charging levels, each impacting installation costs and charging speed:
Level 1 (120V): Uses a standard household outlet. Charging is slow (approximately 3 miles of range per hour), but it's the most budget-friendly option if you already have a suitable outlet. No additional installation cost is usually involved.
Level 2 (240V): The most popular choice for home charging. This uses a dedicated 240-volt circuit (similar to your oven or dryer), offering significantly faster charging (3.7 to 44 miles per hour depending on your charger and Tesla model). Installation costs typically range from $750 to $1500, or more, depending on several factors.
Level 3 (Superchargers): These high-powered chargers are only available at public Supercharger stations and are not suitable for home installation due to their significant cost and specialized requirements.
Decoding Tesla Home Charger Installation Costs
The cost of installing a Level 2 charger (the most common home option) isn't just about the charger itself. Several factors influence the total price:
Electrical Panel Upgrades: If your home's electrical panel lacks sufficient capacity for a new 240-volt circuit, an upgrade is needed, increasing the overall cost.
Wiring Distance: The distance between your electrical panel and the charger's desired location affects the amount of wiring required, impacting labor costs. Longer distances mean higher costs.
Charger Location: A conveniently located charger is cheaper to install than one requiring significant modifications (e.g., running wires through walls).
Permits and Inspections: Local authorities require permits for electrical work. Permitting fees and inspection costs add to the overall expenditure. These costs vary by location.
Electrician's Fees: A substantial portion of the cost covers the electrician's labor. More complex installations will naturally cost more.
Your Step-by-Step Guide to Tesla Home Charger Installation
Follow these steps for a smooth installation:
Assess Your Needs: Determine your daily driving distance to gauge your charging needs (Level 1 or Level 2). Set a realistic budget that includes installation and potential upgrades.
Check Your Electrical System: Inspect your electrical panel to identify available capacity. If unsure, consult a qualified electrician to assess your home's electrical system. This is crucial for precise cost estimation.
Obtain Multiple Quotes: Get at least three quotes from electricians experienced in EV charger installations. Compare their pricing, ensuring a clear breakdown of labor, materials, and permits.
Secure Necessary Permits: Contact your local building department to determine permit requirements and obtain the necessary authorizations for your installation. This step is vital for a legal and safe installation.
Schedule Installation: Once you've selected an electrician and obtained permits, schedule the installation.
Post-Installation Inspection: After installation, schedule a final inspection to ensure compliance with all local electrical codes. This ensures your safety.
Level 1 vs. Level 2 Charging: A Direct Comparison
This table summarizes the key differences between Level 1 and Level 2 charging:
| Feature | Level 1 (120V) | Level 2 (240V) |
|---|---|---|
| Installation Cost | Typically none (uses existing outlet) | $750 - $1500+ (significantly higher) |
| Charging Speed | Very slow (approx. 3 miles/hour) | Much faster (3.7 to 44 miles/hour) |
| Convenience | Simple, uses existing infrastructure | More convenient, faster charging sessions. |
| Cost per Mile | Lower per mile, but significantly longer charging time | Higher per mile, but much shorter overall charging time |
Choosing the Right Tesla Home Charger: Budget and Needs
Selecting a charger depends on individual needs and budget. Consider these factors and options:
Tesla Wall Connector: Fastest charging, highest cost, requires professional installation.
ChargePoint Home Flex: Good balance of speed, compatibility (most EVs, including Tesla with adapter), and price. Offers both hardwired and plug-in options.
Other Options: Several other brands offer chargers at various price points and with varying levels of compatibility and features. Always verify Tesla compatibility.
Remember that professional installation is almost always recommended for safety and code compliance.
"Hiring a qualified electrician is essential for a safe and compliant installation," advises Dr. Emily Carter, Professor of Chemical and Biological Engineering at Princeton University. "Ignoring safety protocols can result in significant risks."
Prioritize Safety: Professional Installation is Key
Prioritize safety! Always choose a qualified and insured electrician with experience in EV charger installations. While the initial investment might seem high, the long-term benefits of safe, reliable charging significantly outweigh any upfront expense.